
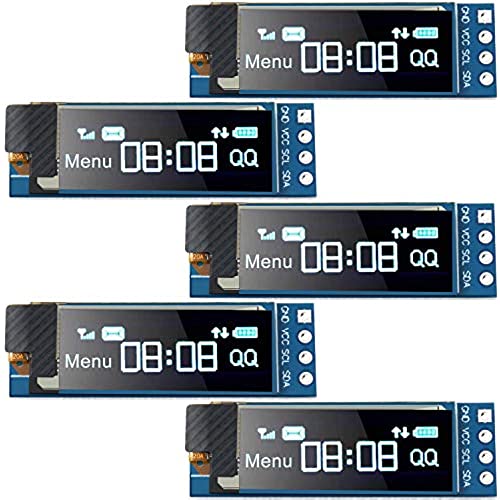

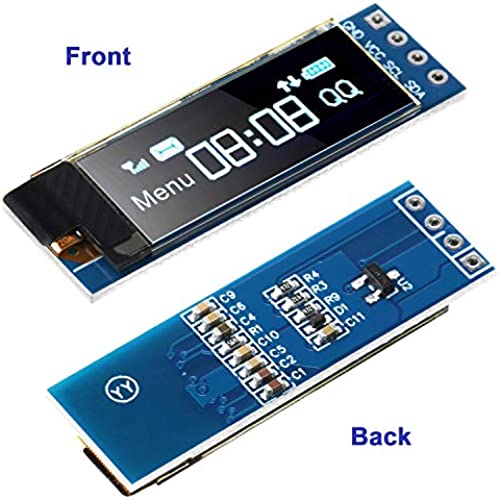
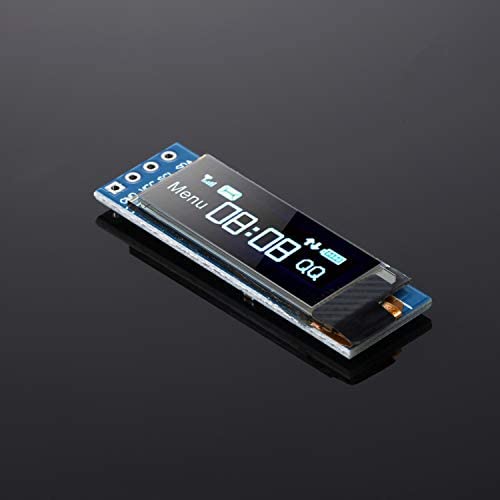


5 Pieces I2C Display Module 0.91 Inch I2C OLED Display Module Blue I2C OLED Screen Driver DC 3.3V~5V(Blue Display Color)
-

Javier Arias
> 3 dayI have been trying to make this work without luck. Seems device is detected (in 0x3C address) but no text/backlight on screen. Tested the 5, same result ....... maybe I am missing something (Will update in case this works). ———————————————- UPDATE: I used Adafruit library and all screens work flawesly, really happy with results
-
John P. Swails
Greater than one week3 were duds. 2 worked with ssd adafruit. Thanks to good comments here that led me to finding right drivers
-
Aaron Bass
> 3 dayill admit i didnt pay attention to the size in the description, they looked much larger in the photos especially for what they were displaying on the example. however they are about the size of a fingernail. not much use i can get out of them but ill keep them since they were cheap
-
=m=
> 3 dayGreat price per module and all five displays worked properly. However, the modules and 4-pin headers were all placed in a single bubble-wrap bag, then inside a small box. Individual ESD bags for each module would insure the modules did not rub against each other during shipping.
-
William Parish
> 3 dayThis will work nicely if I stack my pis in a cluster, since the height is about what Id have between pis anyway. Took a bit of fiddling to get the adafruit library to install, and as you can see in the image some extra control characters display from the example, but when I use it Ill make sure the text is more relevant to what I want. I had to turn down the contract on the picture because its a bright little thing, and was washing out the picture otherwise. I didnt mind not having the headers installed. While headers are nice at this breadboard stage, the other three I may solder wires to, and just have them end in plugs I can attach to the i2c bus. I think it makes sense for a bulk seller like this to omit the headers. Finding the address was trivial, but I couldnt find the manual referenced in the description. Turned out a few minutes on google got me the right instructions for a Pi though. Thats the great thing about the pi is the community support. Id be happy to buy them again if I found a need for more than 5 (cluster expansion maybe?).
-
John
> 3 dayI attach them to a mkr 1010 shield between the headers and use the adafruit oled library. Photo of a well monitor attached. This has, wifi, a real time clock, a watch dog timer, an oled display and a SD card under the side of the display. It is also connected to a Blynk mobile app for monitoring and control. The oleds begin to dim after 6 months or so of use. Best practice is not to have them on all of the time. I plan on adding a small motion sensor that turns the display on or off. .
-
Pierre
Greater than one weekNo surprise. Work and perform without issue.
-
Daniel N.
> 3 dayIs a copy of an Adafruit display and the Adafuit libs for Arduino work with this device. Just note, this is a very very tiny display. For reference the pins are 2.54mm pitch. Cant beat the price for what you get. Just note that I2C is slower than SPI, or high speed parallel so the refresh rate is low, but its still pretty quick.
-
Johnnie N.
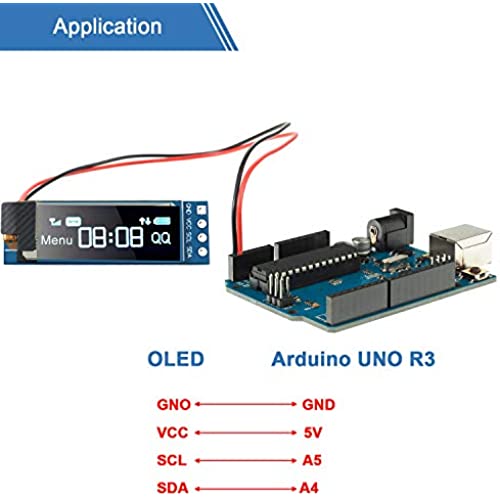
> 3 dayAfter some experimenting I came up with the following to use this with the Seeeduino XIAO in PlatformIO. Display GND --> XIAO GND Display VCC --> XIAO 3V3 (not 5V!) Display SDA --> XIAO SDA Display SCL --> XIAO SCL library used: lib_deps = olikraus/U8g2@^2.28.8 example main.cpp with some comments added: #include <Arduino.h> #include <U8x8lib.h> U8X8_SSD1306_128X32_UNIVISION_HW_I2C u8x8(/* reset=*/ U8X8_PIN_NONE); void setup(void) { u8x8.begin(); u8x8.setFlipMode(1); // set number from 1 to 3, the screen word will rotary 180 } void loop(void) { u8x8.setFont(u8x8_font_chroma48medium8_r); u8x8.setCursor(0, 0); // char row, col - not pixel u8x8.println(===============); // if string too long it wraps and flickers u8x8.println( Hello,); // println() advances to next row u8x8.println( World!); u8x8.println( ===============); u8x8.println( test test test=); // <- this will not be shown on the 4 line screen } Since all I am looking for in this display is a simple character output this library will work fine for me. I tried the Adafruit and the SeeedStudio OLED libraries and I assume I never got the device type correct for a few frustrating hours of trial and error and error. I was also able to get the graphics library to work on this using the following constructor: #include <U8g2lib.h> U8G2_SSD1306_128X32_UNIVISION_F_HW_I2C u8g2(U8G2_R0, U8X8_PIN_NONE);
-
Carroll Humphreys
> 3 dayGood quality for the money, easy to use with ‘ssd1306.py’ driver for MicroPython code Works well with Raspberry Pico using Thonny IDE


