
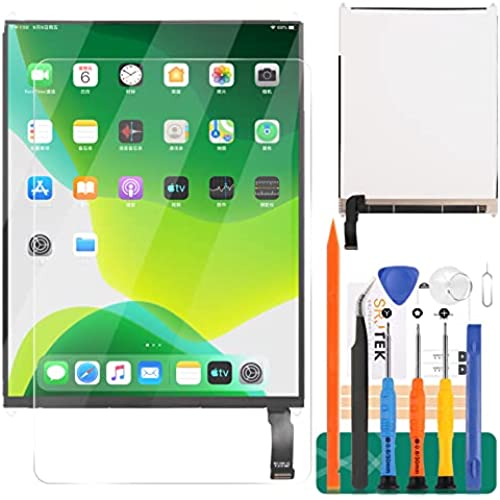


for iPad Mini 2 LCD Screen Replacement A1489 A1490 A1491 for iPad Mini 3 Screen Replacement A1599 A1560 LCD Display Panel Repair Parts Kit 7.9 inch(Not Include Touch Screen


TIPS:
Because of Limited image capacity in amazon description.
If you need complete repair guide of ipad mini 2 lcd screen, please let me know we can send to you!
Note please:
Install the lcd screen need professional skills ,so we suggest you replace it in a professional repair store with the new lcd screen!
1.When you replace the new lcd screen, please keep the battery connector pull off.
2.When you test the new lcd screen, please keep the touch screen flex is connected with your ipad, or it will no display anything!
3.In order to protect the LCD won"t scratch during shipping way, each lcd have a screen protector in surface of lcd, please remove it before install the new lcd
4.The LCD is very fragile, do not apply pressure to the corners of the lcd panel, pressure will damage the lcd panel, be gentle and cautious!
5.If The lcd no display any picture/iPad no turn on or not working properly, please just pull off battery connector and install the lcd again. sometimes, it will solve this problem,
6.If need any help with your order, we will do our best to help you!

step 1
- If your display glass is cracked, keep further breakage contained and prevent bodily harm during your repair by taping the glass.
- Lay overlapping strips of clear packing tape over the iPad"s display until the whole face is covered. This will keep glass shards contained and provide structural integrity when prying and lifting the display.
- Do your best to follow the rest of the guide as described. However, once the glass is broken, it will likely continue to crack as you work, and you may need to use a metal prying tool to scoop the glass out.
- Wear safety glasses to protect your eyes, and be careful not to damage the LCD screen.

step 2
1.While holding the glass up with the suction cup, slide the point of an opening pick into the gap between the glass and body of the iPad. 2.Don"t insert the opening pick any deeper than the black bezel on the side of the display. Inserting the pick too far may damage the LCD. 3.Pull the suction cup"s plastic nub to release the vacuum seal and remove the suction cup from the display assembly.

step 3
- Remove the following Phillips #00 screws securing the LCD: Three 3.3 mm screws One 4.5 mm screw
- If there is tape covering any LCD screws, peel it up with tweezers.

step 4
- Remove the following Phillips #00 screws securing the LCD: Three 3.3 mm screws One 4.5 mm screw
- If there is tape covering any LCD screws, peel it up with tweezers.

step 5
- Use the flat tip of a spudger to gently lift the battery connector up off its socket on the logic board.
- Be very careful to only pry up on the battery connector and not on the socket itself. If you pry up on the logic board socket, you may break the connector entirely.
Related products
