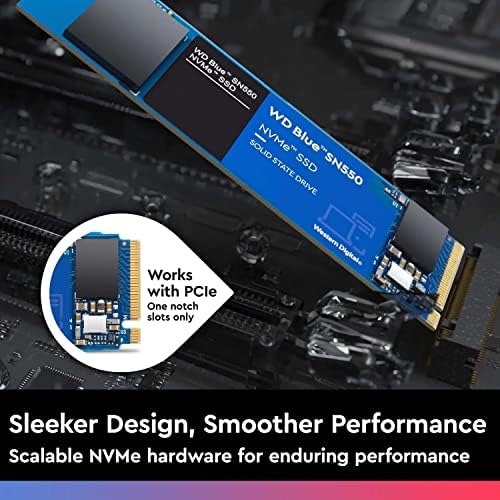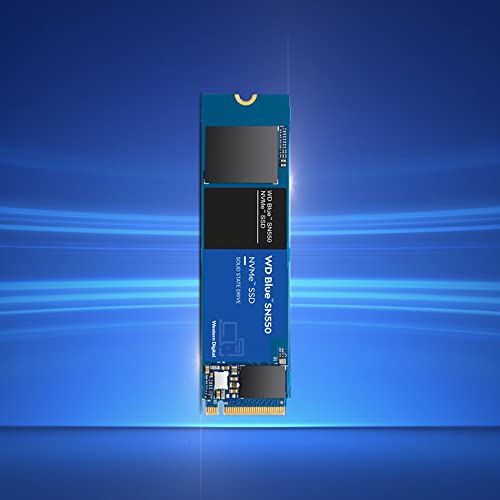


Western Digital 500GB WD Blue SN550 NVMe Internal SSD - Gen3 x4 PCIe 8Gb/s, M.2 2280, 3D NAND, Up to 2,400 MB/s - WDS500G2B0C
-

Sam
Greater than one weekBought this hoping to add life to my aging Mac Pro (4,1 flashed to 5,1), but drive was not recognized. Replaced with a Sabrent that was recognized immediately. Cant evaluate performance beyond that.
-

Nelson
> 3 dayGot the 1TB version so I wouldnt need to install games on a SATA SSD; I plan to use the nvme drive to the fullest; OS and most played games are installed there, and when the time comes, Ill buy another SSD for extra capacity.
-

Simon K.
> 3 dayGreat value! 1TB of storage for the price is a no brainer. If youre looking for speed, there are better ones out there, but this is a perfect balance of value and performance.
-

Link
> 3 dayVery fast ssd
-

Kevin Schneider
> 3 dayI purchased the 1 TB model to upgrade the 500 GB SSD on my HP laptop. This isn’t the first time I’ve upgraded a laptop HD, but definitely the most frustrating. The reason is the “free” Acronis True Image software provide from the WD download page. It has so many restrictions that if I hadn’t had an external WD drive sitting around the house, I would not have been able to even install the software, and even after doing that, the external WD drive had to be attached to even run the software! Once I got past that, the USB image wouldn’t run under secure boot, so I had to enable legacy boot mode in the bios to run the software (Acronis supposedly has a fix for this, which I tried, but it didn’t work for me — just went from an error message to a blank screen.) And after all of that, I had to download MiniTools Partition Wizard to take advantage of the extra space in the new SSD. Now that I have it installed, it seems to work fine, but what I thought would be a 2 hour job quickly grew into 6+ hours. To summarize: to use the “free” software, here is the process that worked for me: Requirements: 1) 1 formatted WD HD/SSD attached to the computer, 2) >=1 GB USB Flash Drive 1. Download Acronis True Image software from WD website. 2. Install external USB WD-HD (not this one, it has to be one that is formatted and recognized by Windows) 3. Install True Image software 4. Run software and create Acronis recovery USB. (There are other options listed, but not enabled with the free version of the software.) 5. Shutdown machine. 6. Install new SSD in machine and move existing SSD/HD to external USB housing cable (bought separately) 7. Boot machine into Bios (F9 during boot for me) and enable legacy boot 8. Boot up (F9 for boot screen) and select USB drive as boot device 9. Select Acronis True Image from the boot screen 10. Select Acronis True Image (64-bit for me) from the Acronis screen (this was the screen that wouldn’t appear in EFI boot mode) 11. Software won’t run if your external WD drive is not installed, so if you removed it, plug it back in. 12. Select “Clone” from tools menu. 13. Choose your source And destinations drives (make sure you select the correct drives). (With the required external WD drive on the screen, choose carefully your new drive as destination and not that one!) 13. (I can’t remember whether I ended up using “automatic” or “manual”, but I copied the partitions exactly as they were on the old drive — I did not expand them. This was necessary because my original SSD had a recovery partition. And we’ll allocate the up allocated space later. 14. Complete Cloning process, select “shut down when complete” and wait for the computer to shut down. 15. Unplug old SSD (USB cable). 16. Boot computer into Bios mode and re-enable Secure boot. 17. Boot up computer and log into Windows. 18. Download Minitool Partition Wizard 19. Run Partition Wizard. Move Recovery Partition to far right. Move the corresponding boot partition to the far right. Expand the main partition.to fill available space. 20. Reboot (not sure it is necessary, but good to do to make sure you haven’t broken anything) and enjoy! (Sorry if I have used the wrong terms in places, as this is from memory a day later. I have left out all of the false steps and time spent looking for guidance on how to do this.) I just don’t want anyone to believe the PC Magazine and other reviews that say that WD provides the software to make this painless. It is readily apparent that the reviewers haven’t tried to use it. My previous upgrades were with Crucial SSDs using their free version Acronis (about 5 years ago) and while I still had a number of questions and challenges, the experience was far better than what I had this time. I was expecting that my previous experience would make this go smoother, but I was mistaken. I see now that Crucial has some guidance on their web page for how to navigate this process — none from WD.
-

Mauro Becerra
> 3 dayMuy bueno, Windows inicia en 10 segundos !! Es exelente
-

Travis
> 3 dayWhat can I say. It works? Pretty fast, copys, extractions and installs to the drive are noticeably much faster than my other Sata SSD.
-

Jose
> 3 dayEste disco es una pequeña bestia dentro de su rango de gama media .Tengo Windows 10 instalado en el sin ningun problema .Los juegos se ejecutan de forma rapida y sin demasida espera . Lo recomiendo si deseas que tu ordenador vaya mas fluido y si no deseas gastar mucho dinero. Te recomiendo que compres un disipador termico si tu placa base no lo trae de fabrica.
-

Sergey Bagdasariants
> 3 dayvery well
-

Firmino
> 3 dayIt changed my laptop performance from night to day; speed for bootup and internet navigation became better than I expected
